반응형
강좌 수정 화면 스마트에디터 기능 적용
https://github.com/naver/smarteditor2
GitHub - naver/smarteditor2: Javascript WYSIWYG HTML editor
Javascript WYSIWYG HTML editor. Contribute to naver/smarteditor2 development by creating an account on GitHub.
github.com
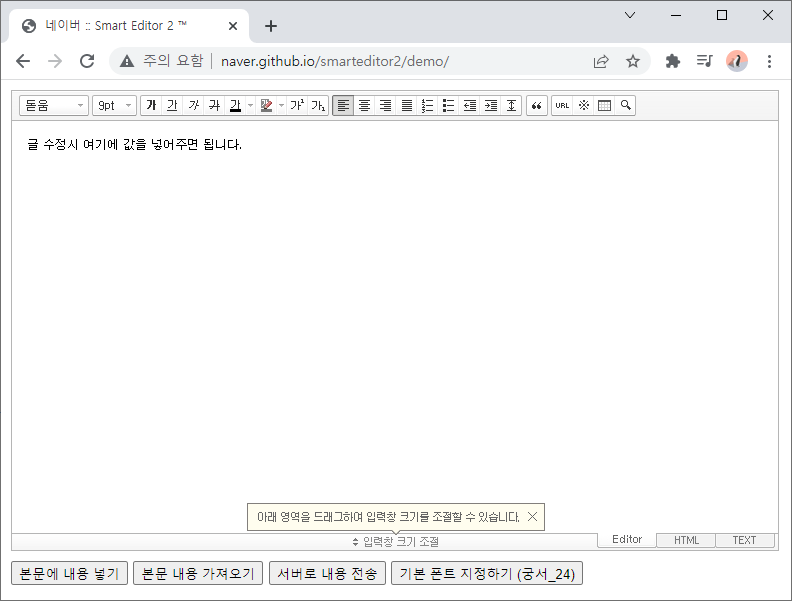
- 네이버 Smart Editor 2 데모

- 설지 확인 사항

Releases · naver/smarteditor2
Javascript WYSIWYG HTML editor. Contribute to naver/smarteditor2 development by creating an account on GitHub.
github.com

- 다운로드 파일 위치: ...\resources\static\res\se2

- 설치

- 순서에 따라 진행

- X-Frame-Options 관련 적용 에러

http.headers().frameOptions().sameOrigin();
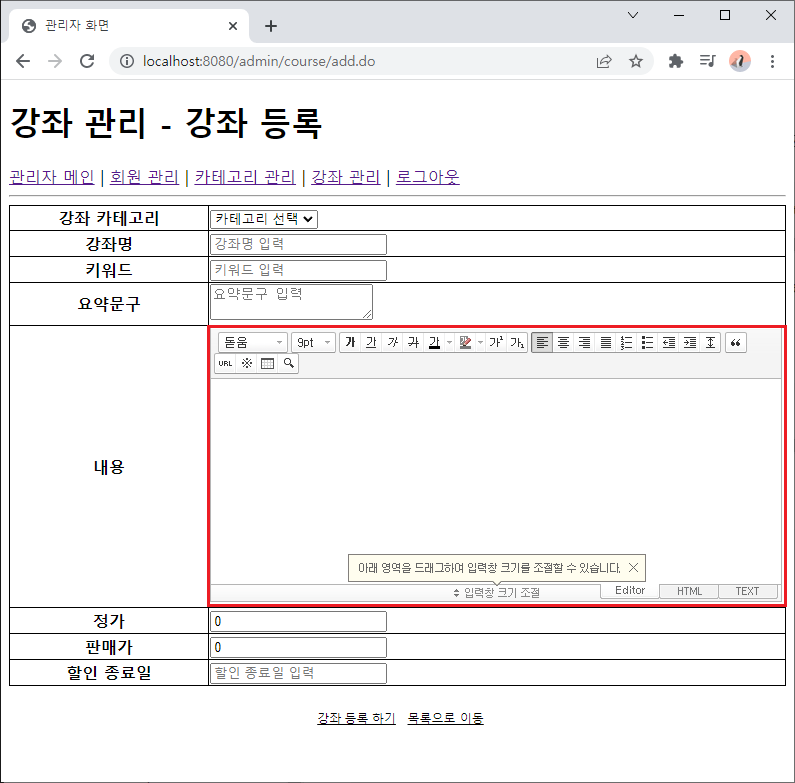
- 스마트에디터 적용 모습
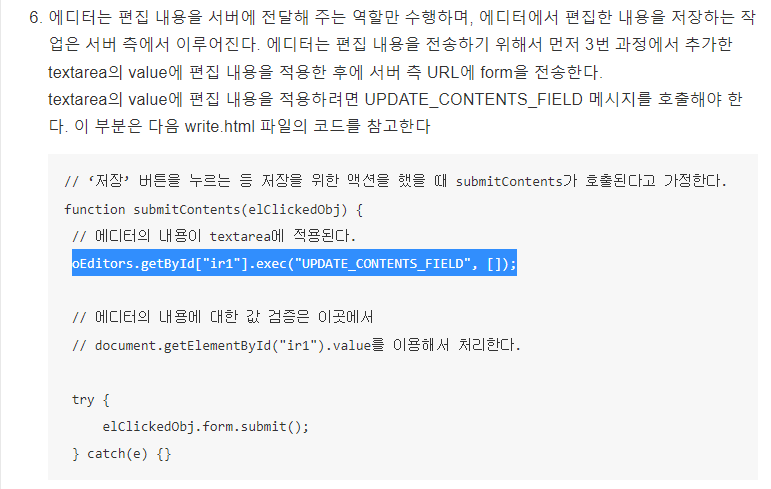
- 에디터의 내용을 textarea에 적용

- textarea에 적용

- 에디터로 내용 수정

- 수정 확인
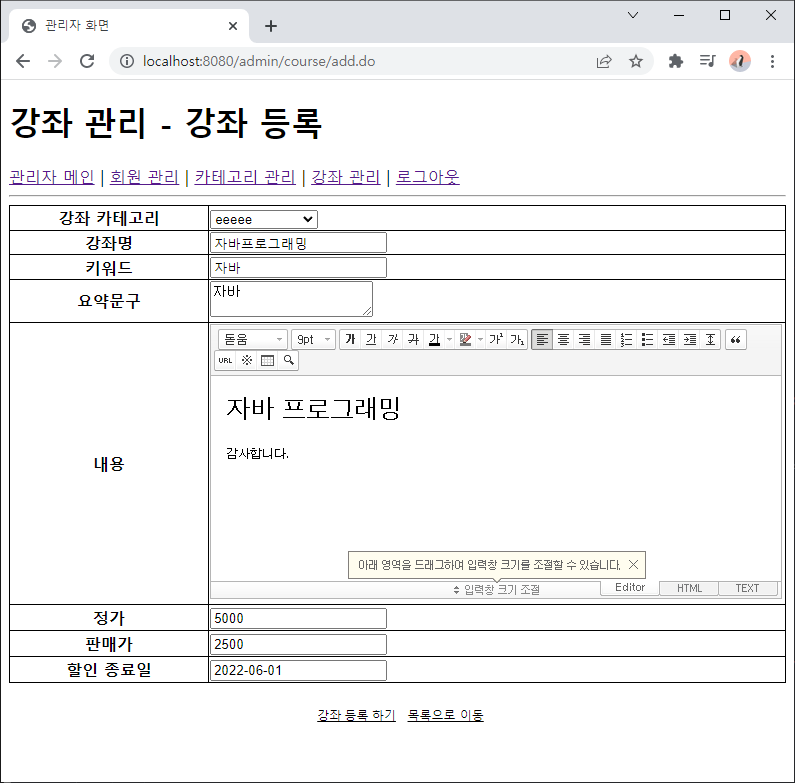
- 에디터를 이용한 강좌 등록 내용 추가

- 정상 등록 가능 확인
add.html
<!DOCTYPE html>
<html lang="en" xmlns:th="http://www.thymeleaf.org">
<head>
    <meta charset="UTF-8">
    <title> 관리자 화면 </title>
    <style>
        .detail table {
            width: 100%;
            border-collapse: collapse;
        }
        .detail table th, .detail table td {
            border: solid 1px #000000;
        }
        .buttons {
            margin-top: 20px;
            text-align: center;
        }
        .buttons a, .buttons button {
            border-width: 0;
            background-color: transparent;
            text-decoration: underline;
            font-size: 12px;
            line-height: 20px;
            height: 20px;
            color: #000000;
            cursor: pointer;
        }
    </style>

    <script src="https://code.jquery.com/jquery-3.6.0.min.js"
            integrity="sha256-/xUj+3OJU5yExlq6GSYGSHk7tPXikynS7ogEvDej/m4="
            crossorigin="anonymous"></script>
    <script>
        $(document).ready(function () {

            $('#submitForm').on('submit',function () {
                //에디터의 내용이 textarea에 적용된다.
                oEditors.getById["contents"].exec("UPDATE_CONTENTS_FIELD", []);
            });
        });
    </script>
</head>
<body>
<h1>강좌 관리 - 강좌 등록</h1>
<div th:replace="/fragments/layout.html :: fragment-admin-body-menu"></div>
<div class="detail">
    <form id="submitForm" method="post">
        <table>
            <tbody>
                <tr>
                    <th>강좌 카테고리</th>
                    <td><select name="categoryId" required>
                            <option value=""> 카테고리 선택 </option>
                            <option th:selected="${detail.categoryId == x.id}"
                                    th:each="x : ${category}" th:value="${x.id}" th:text="${x.categoryName}"> 기획
                            </option></select></td></tr>

                <tr><th>강좌명</th>
                    <td><input th:value="${detail.subject}" type="text"
                               name="subject" required placeholder="강좌명 입력"/></td></tr>
                <tr><th> 키워드 </th>
                    <td><input th:value="${detail.keyword}" type="text"
                               name="keyword" required placeholder="키워드 입력"/></td></tr>
                <tr><th>요약문구</th>
                    <td> <textarea th:text="${detail.summary}"
                                   name="summary" required placeholder="요약문구 입력"></textarea></td></tr>
                <tr><th>내용</th>
                    <td><textarea th:text="${detail.contents}" id="contents"
                                  name="contents" placeholder="내용 입력"></textarea></td></tr>
                <tr><th> 정가</th>
                    <td><input th:value="${detail.price}"
                               name="price" required placeholder="정가 입력"></td></tr>
                <tr><th>판매가</th>
                    <td><input th:value="${detail.salePrice}"
                               name="salePrice" required placeholder="판매가 입력"></td></tr>
                <tr><th> 할인 종료일</th>
                    <td><input th:value="${detail.saleEndDt}"
                               name="saleEndDtText" placeholder="할인 종료일 입력"></td></tr>
            </tbody>
        </table>
        <div class="buttons">
            <button th:if="${editMode}" type="submit"> 강좌 수정하기 </button>
            <button th:if="${!editMode}"  type="submit"> 강좌 등록 하기 </button>
            <a href="/admin/course/list.do"> 목록으로 이동 </a>
        </div>
    </form>
</div>

<script type="text/javascript" src="/res/se2/js/service/HuskyEZCreator.js" charset="utf-8"></script>

<script type="text/javascript">
        var oEditors = [];
        nhn.husky.EZCreator.createInIFrame({
            oAppRef: oEditors,
            elPlaceHolder: "contents",
            sSkinURI: "/res/se2/SmartEditor2Skin.html",
            fCreator: "createSEditor2"
        });
</script>
</body>
</html>
반응형
'cs > java-spring-boot' 카테고리의 다른 글
| [Zero-base] 8-2. 스프링 부트 - 강좌 상세 정보 구현 (0) | 2022.03.01 |
|---|---|
| [Zero-base] 8-1. 스프링 부트 - 강좌 목록 (0) | 2022.03.01 |
| [Zero-base] 7-13. 강좌 일괄 삭제 및 선택 삭제 구현 (0) | 2022.02.26 |
| [Zero-base] 7-12. 강좌 상세 정보 등록 및 수정 구현 (2) (0) | 2022.02.26 |
| [Zero-base] 7-12. 강좌 상세 정보 등록 및 수정 구현 (1) (0) | 2022.02.26 |